
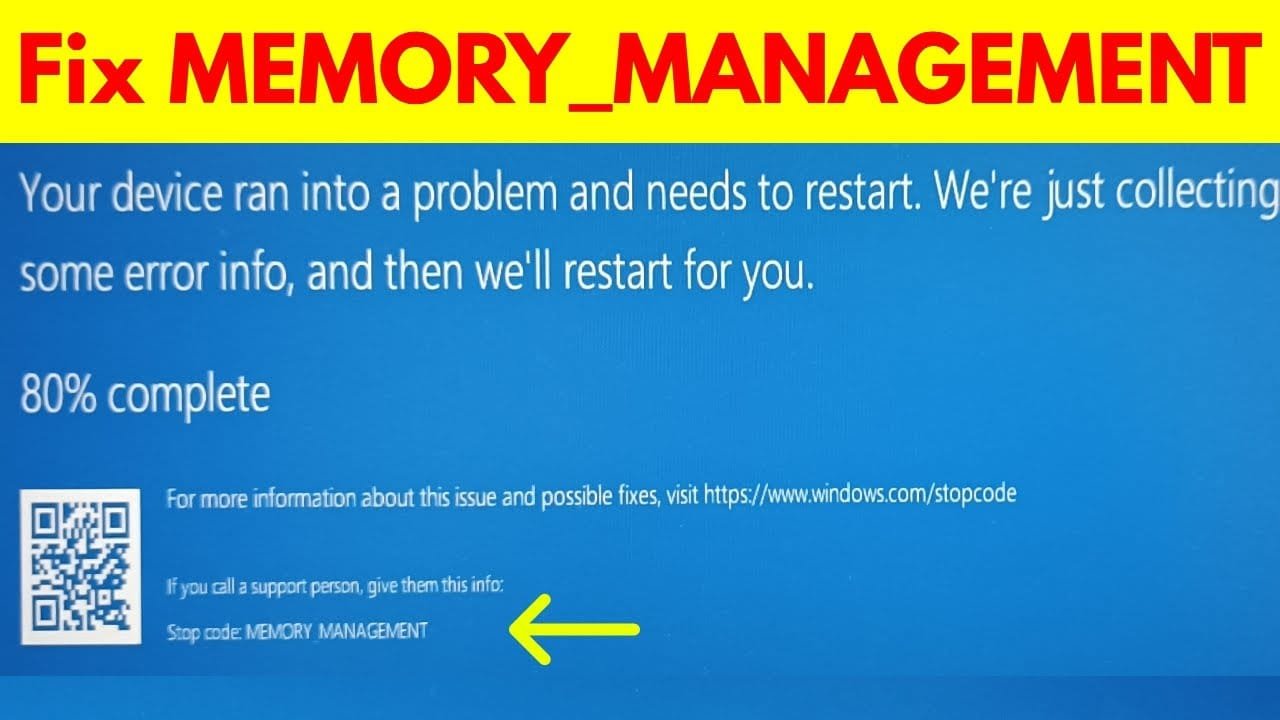
A Windows memory management issue is a common system error that can disrupt your device performance. If you are experiencing a Windows memory management crash, this 2026 step-by-step diagnostic guide will help you troubleshoot and resolve the problem quickly.
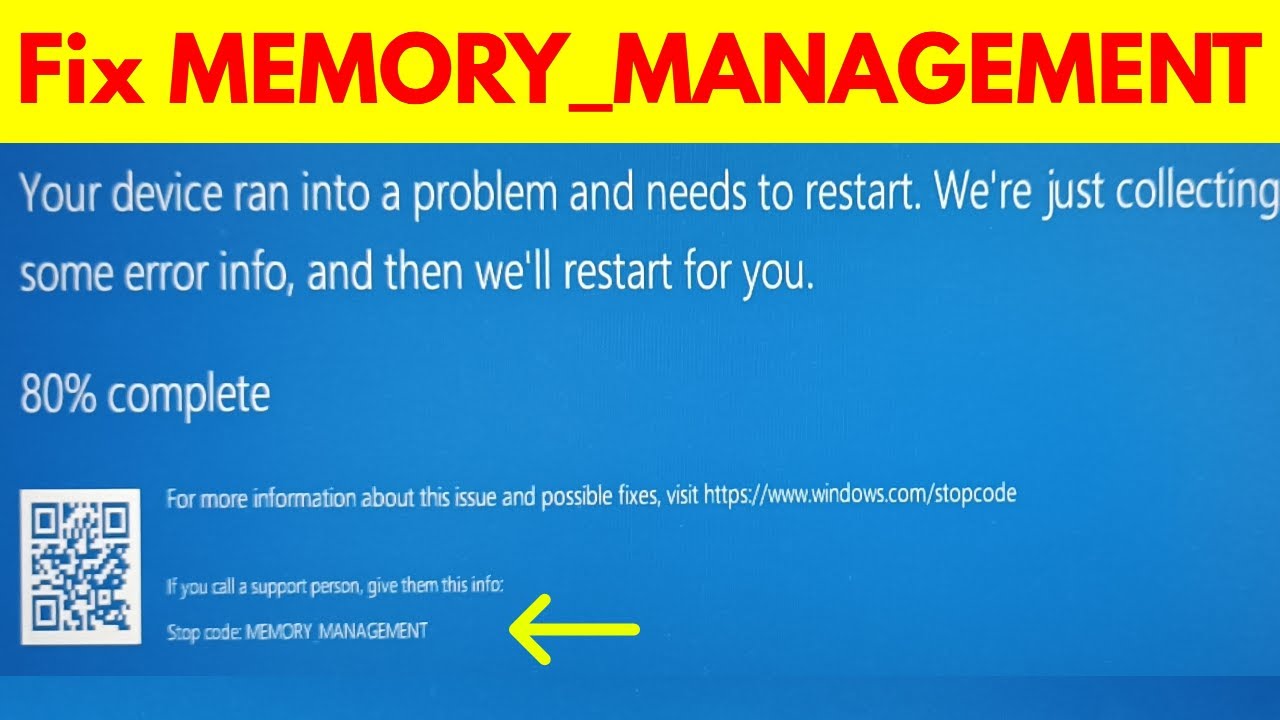
Consequently, users often face sudden system reboots or blue screen errors. This comprehensive guide provides actionable steps to restore your operating system’s stability.
Table of Contents
Understanding the Windows memory management Cause
Initially, we must understand what triggers this operating system failure. The Windows kernel relies heavily on physical and virtual memory allocation. Therefore, any disruption in these processes often triggers a Windows memory management blue screen of death (BSOD).
In addition, corrupted system files frequently cause this issue. When critical registry entries become unreadable, the operating system cannot allocate RAM efficiently. Consequently, the system crashes to prevent permanent hardware damage.
Common Triggers of Memory Failures
Furthermore, outdated device drivers are a primary culprit. For example, graphics card drivers or motherboard chipsets might conflict with the latest Windows updates. This mismatch leads to severe memory allocation conflicts.
Finally, physical hardware degradation can cause this error. Overheated RAM modules or failing hard drives directly impact system stability. If you also experience display issues, check our guide on Monitor no signal troubleshooting.
The Role of Virtual Memory
Virtual memory acts as an extension of your physical RAM. When your system runs out of physical memory, it writes temporary data to the pagefile on your hard drive. Consequently, if this file is corrupted, a crash occurs.
Furthermore, improper virtual memory settings can strain your storage drive. This strain leads to slower response times and eventual system failure. Therefore, maintaining correct pagefile sizes is essential.
Driver Conflicts and System Stability
Device drivers act as translators between hardware and software. If a driver contains bugs, it may request memory addresses that are already in use. Consequently, the operating system triggers a protective crash.
Specifically, network drivers and graphics drivers are notorious for causing these conflicts. Keeping these components updated is a critical step in maintaining system stability over time.

Diagnostic Steps for Windows memory management
To resolve this issue, we must systematically isolate the root cause. Specifically, we will use built-in Windows diagnostic tools to isolate the Windows memory management failure.
First, run the Windows Memory Diagnostic tool. Press the Windows Key + R, type “mdsched.exe”, and press Enter. Next, choose to restart your computer and check for problems immediately.
Running System File Checker
In addition to memory tests, you should verify system file integrity. Open the Command Prompt as an administrator. Subsequently, type “sfc /scannow” and press Enter to repair corrupted files.
This process might take several minutes to complete. However, it is highly effective at repairing damaged system files. Once completed, restart your computer to apply the changes.
Checking Disk Health
Furthermore, disk errors can mimic memory allocation failures. Therefore, run the CHKDSK utility in the Command Prompt. Type “chkdsk /f /r” and press Enter to scan your storage drive.
If you encounter network-related errors during these updates, refer to our guide on VPN Error 800. This will help maintain a stable internet connection throughout the process.
Using the DISM Tool
If the System File Checker fails to repair files, the Deployment Image Servicing and Management (DISM) tool is your next step. This utility repairs the underlying Windows system image.
To run DISM, open Command Prompt as an administrator. Next, type “DISM /Online /Cleanup-Image /RestoreHealth” and press Enter. This command downloads healthy files from Windows Update to replace corrupted ones.
Consequently, this tool provides a deeper level of repair than SFC alone. Always run SFC again after the DISM process completes to ensure all files are fully restored.
Analyzing Crash Dump Files
When a blue screen occurs, Windows creates a crash dump file. These files contain detailed information about what caused the system failure. Specifically, they point to the exact driver responsible.
To read these files, you can use free tools like BlueScreenView or WinDbg. Analyzing these dumps saves time by identifying the problematic software immediately.
Advanced Windows memory management Fixes
If basic diagnostics do not resolve the issue, advanced steps are required. Specifically, we must look at virtual memory settings and driver updates to find a permanent solution.
Adjusting Virtual Memory
Initially, open the System Properties window. Navigate to the Advanced tab and click Settings under the Performance section. Next, go to the Advanced tab and click Change under Virtual Memory.
Uncheck the automatic management option. Consequently, you can manually set the initial and maximum paging file size. This action often stabilizes systems with limited physical RAM.
Updating Device Drivers
Furthermore, outdated drivers must be updated immediately. Open Device Manager and expand the display adapters section. Right-click your graphics card and select Update Driver to ensure compatibility.
Alternatively, visit the manufacturer’s official website to download the latest drivers. For authoritative resources on system compatibility, consult the official Microsoft Support Portal.
Finally, performing a clean boot can help isolate third-party software conflicts. Disable all non-Microsoft services in the System Configuration utility before restarting, resolving the Windows memory management conflict permanently.
Updating the Motherboard BIOS
An outdated motherboard BIOS can cause severe compatibility issues with modern hardware. Therefore, updating your BIOS is a highly effective advanced troubleshooting step.
Initially, visit your motherboard manufacturer’s website to find the latest BIOS version. Next, follow their specific instructions carefully, as an improper update can damage your motherboard.
Furthermore, modern BIOS updates often include memory compatibility patches. These patches directly address stability issues with high-speed RAM modules.
Disabling Fast Startup
Fast Startup is a feature designed to reduce boot times. However, it does this by saving system state to a file, which can sometimes preserve corrupted memory states.
To disable this, open the Control Panel and navigate to Power Options. Next, click “Choose what the power buttons do” and uncheck “Turn on fast startup”. Finally, save your changes and restart.
Diagnostic Comparison Table
To help you choose the best troubleshooting path, we have compiled a comparison table. This summary highlights the most common causes and their corresponding diagnostic tools.
| Potential Cause | Diagnostic Tool | Difficulty Level | Estimated Time |
|---|---|---|---|
| Defective RAM Modules | Windows Memory Diagnostic | Medium | 20-30 Minutes |
| Corrupted System Files | SFC / DISM Commands | Easy | 10-15 Minutes |
| Outdated Drivers | Device Manager | Medium | 15-20 Minutes |
| Hard Drive Failures | CHKDSK Utility | Hard | 30-60 Minutes |
Consequently, using this table allows you to prioritize your troubleshooting steps. We recommend starting with the easiest software fixes before moving to hardware diagnostics.
Preventative Best Practices
Preventing future system crashes requires consistent maintenance. Therefore, establishing a routine checkup schedule is highly beneficial for long-term system health.
First, always keep your operating system updated. Microsoft frequently releases patches that address memory allocation bugs. Consequently, installing these updates prevents unexpected system instability.
Second, monitor your system temperatures regularly. High heat can cause RAM modules to malfunction temporarily. Therefore, ensure your PC has adequate ventilation and clean dust from internal components.
Third, avoid running too many resource-heavy applications simultaneously. If your physical memory is constantly maxed out, the system relies heavily on virtual memory, increasing crash risks.
Finally, use reliable security software to scan for malware. Some malicious programs target system memory to execute unauthorized code, leading to severe system crashes.
Managing Startup Applications
Too many startup applications can overwhelm your system memory from the moment you boot. Therefore, managing these applications is crucial for maintaining optimal performance.
Open the Task Manager and navigate to the Startup tab. Next, disable any non-essential programs from launching automatically. This simple step frees up valuable RAM resources.
Consequently, your system will boot faster and experience fewer memory allocation conflicts during daily use.
Regular Hardware Cleaning
Dust accumulation inside your computer case acts as an insulator, trapping heat. Consequently, this heat can cause your RAM modules to overheat and fail.
Therefore, make it a habit to clean your PC’s interior every six months. Use compressed air to blow dust away from the memory slots and cooling fans.
Hardware vs Software Troubleshooting
Distinguishing between hardware and software faults is crucial. Specifically, software issues can be resolved through updates, while hardware issues require physical replacement.
Identifying Software Faults
If the error only occurs when launching a specific application, it is likely a software conflict. Consequently, reinstalling the application or updating its configuration files should resolve the issue.
In addition, system restore points can revert your PC to a stable state. If the error started after a recent update, restoring your system is a quick remedy.
Identifying Hardware Faults
Conversely, if the blue screen occurs randomly during idle times, hardware failure is probable. For example, a failing motherboard or degraded RAM stick will cause unpredictable crashes.
To test this, try running your computer with only one RAM stick installed at a time. This process helps identify the specific faulty module.
Furthermore, testing your storage drive with third-party diagnostic tools can reveal bad sectors. If your drive is failing, backup your data immediately to prevent total loss.
RAM Overclocking and XMP Profiles
Many modern systems use Extreme Memory Profiles (XMP) to run RAM at higher speeds. However, aggressive overclocking can lead to severe system instability.
XMP is a technology developed by Intel that allows you to change multiple memory settings by selecting a predefined profile. While convenient, it can sometimes push hardware beyond stable limits.
Consequently, if your system crashes frequently, disabling XMP in the BIOS is a recommended troubleshooting step. This forces your RAM to run at safe, standard speeds.
Manual Overclocking Risks
Furthermore, manual RAM overclocking requires precise voltage adjustments. If the voltage is too low, the memory modules will fail under heavy loads.
Therefore, if you are not experienced with manual overclocking, it is best to leave memory settings at their default values. This ensures maximum stability for daily tasks.
Software Conflicts and Memory Leaks
Sometimes, specific software applications develop memory leaks. A memory leak occurs when a program requests RAM but fails to release it back to the system after use.
Consequently, the available system memory slowly depletes over time. Eventually, this depletion triggers a system crash to protect the operating system from failing completely.
Identifying Memory Leaks
To identify a memory leak, open the Task Manager and monitor the Performance tab. If you notice RAM usage steadily climbing without any active programs running, a leak is likely occurring.
Specifically, web browsers with too many active extensions are common culprits. Try disabling extensions one by one to see if system performance improves.
Reinstalling Problematic Software
If you identify a specific program causing the leak, reinstalling it is the best course of action. First, uninstall the program completely through the Control Panel.
Next, download the latest version from the official developer website. This ensures you have the most stable version with all recent bug fixes applied.
Virtualization and Sandbox Environments
Running virtual machines or sandbox environments requires significant memory resources. Consequently, improper configuration can easily lead to system crashes.
When setting up a virtual machine, you must allocate a specific amount of RAM to it. If you allocate too much, the host operating system will starve.
Therefore, always leave at least 4GB of RAM for the host system to function properly. This prevents the host from crashing due to memory exhaustion.
Using Windows Sandbox Safely
Windows Sandbox is a lightweight desktop environment designed for safely running applications in isolation. However, it still consumes physical memory resources while active.
Specifically, close the sandbox environment as soon as you finish testing. This immediately releases the allocated memory back to your main operating system.
📺 Video Guide: Fix windows 10/11 blue screen stop code memory management error | MEMORY_MANAGEMENT
Video walkthrough courtesy of Theta Box on YouTube. Follow along with the visual steps above.
Frequently Asked Questions
In this section, we address some of the most common questions regarding memory management errors. These answers provide quick insights into resolving your system issues.
Can a bad graphics card cause memory errors?
Yes, outdated or corrupted graphics drivers can conflict with system memory allocation. Consequently, updating your GPU drivers often resolves these unexpected blue screen errors.
How often should I run memory diagnostics?
Generally, you only need to run memory diagnostics when experiencing system instability. However, running a preventative scan once a year is a good practice.
Will resetting my PC fix memory management issues?
Yes, resetting Windows reinstalls core system files, which resolves most software-related memory issues. However, backup your personal files before proceeding with a full reset.

[…] other system stability issues, you might find our guide on Windows memory management errors helpful. Additionally, if you encounter network-related problems, our article on OpenVPN error […]
[…] want to check guides on audio problems like Audio Crackle Bluetooth or system stability issues like Windows memory management, as they can sometimes be related to underlying system […]