An MSI CPU red light is a common issue that can disrupt your device performance. If you are experiencing this hardware error, this 2026 step-by-step diagnostic guide will help you troubleshoot and resolve the problem quickly.
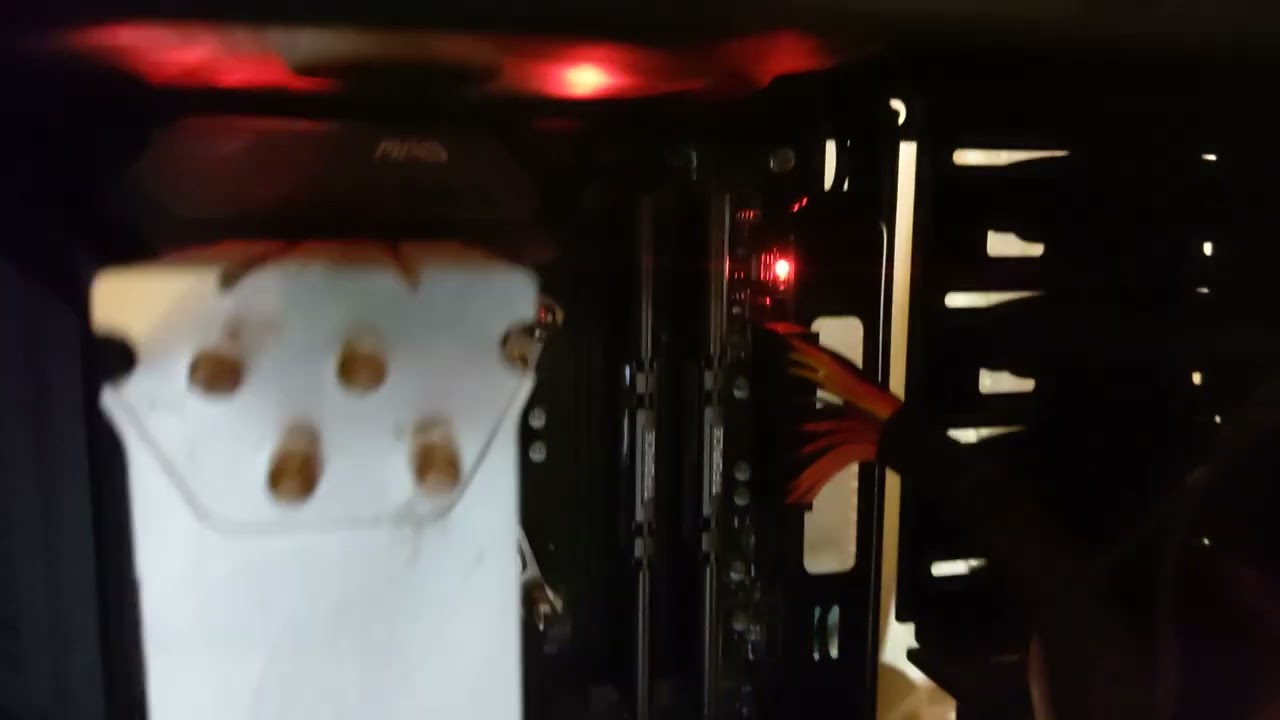
Consequently, when this diagnostic LED illuminates on your motherboard, it indicates that the system cannot detect or initialize the central processing unit. This issue can stem from multiple sources, including power delivery failures, outdated firmware, or physical socket damage.
Fortunately, you can resolve most of these issues at home without sending your components for repair. Therefore, we have compiled this comprehensive guide to walk you through every diagnostic step systematically.
In addition, understanding the underlying architecture of your motherboard’s diagnostic system can save you hours of frustration. Modern motherboards utilize these debug lights to communicate directly with the user before the display output is initialized.
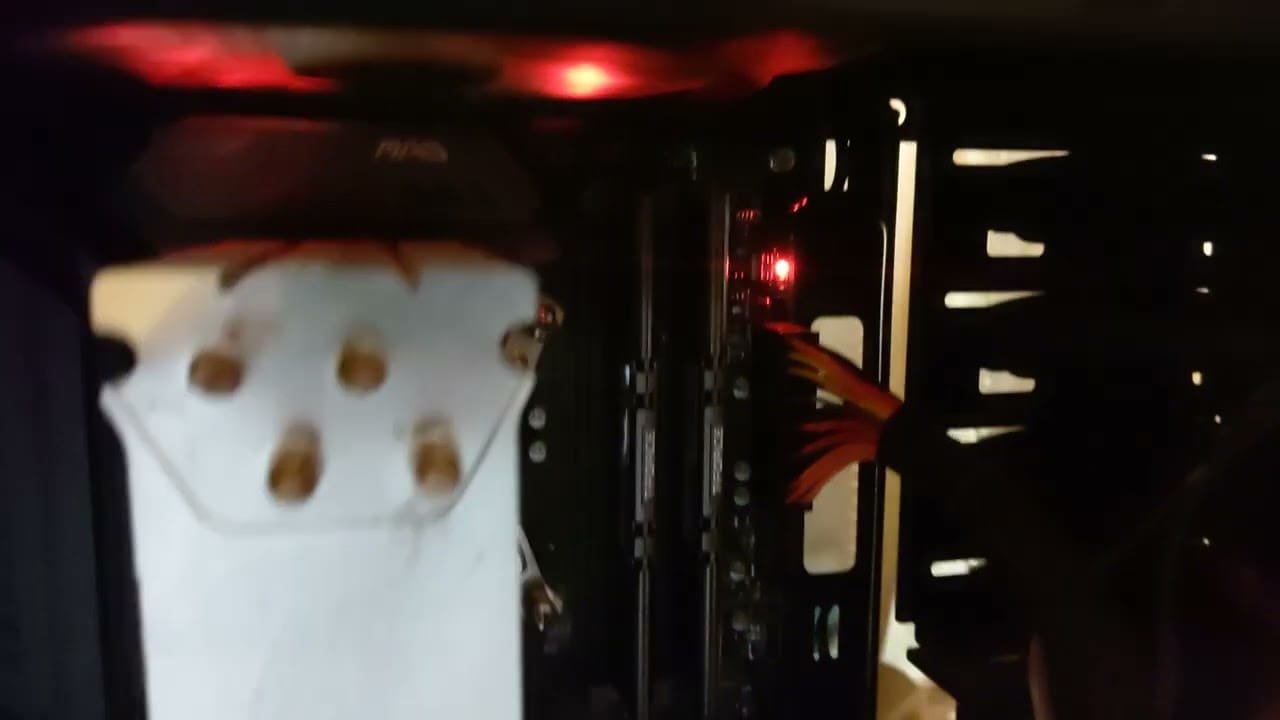
Specifically, the EZ Debug panel consists of four lights: CPU, DRAM, VGA, and BOOT. When the sequence halts at the first stage, it points directly to a processor-related initialization failure.
Table of Contents
- Understanding the MSI CPU Red Light Cause
- Diagnostic Comparison Table
- Step-by-Step MSI CPU Red Light Solutions
- Inspecting and Reseating RAM Modules
- Power Supply and Cable Verification
- BIOS Flashback and CMOS Reset Procedures
- Advanced Diagnostics for MSI CPU Red Light
- Checking for Bent Pins and Thermal Paste Overflow
- Preventative Best Practices for PC Builders
- Frequently Asked Questions
Understanding the MSI CPU Red Light Cause
Initially, understanding why your motherboard displays an MSI CPU red light is crucial for an efficient repair process. The EZ Debug LED system is designed to pinpoint boot failures instantly.
Specifically, the red light indicates that the motherboard’s Power-On Self-Test (POST) has failed at the processor initialization stage. This failure prevents the system from loading the BIOS or booting into your operating system.
However, a red light does not always mean your processor is dead. In fact, minor configuration errors, such as loose power cables or incompatible memory modules, frequently trigger this warning.
In addition, thermal issues or a poorly seated cooler can cause immediate thermal shutdown, mimicking a hardware failure. Consequently, systematic testing is required to isolate the exact root cause.
Furthermore, power delivery fluctuations from an aging power supply can cause the motherboard to protect itself by halting the boot sequence. Therefore, we must analyze both hardware and software factors.
For example, a sudden power outage can corrupt the BIOS settings, leading to a false positive hardware error. In such cases, the processor is perfectly healthy, but the motherboard cannot communicate with it.
Diagnostic Comparison Table
To help you quickly identify the most likely culprit associated with an MSI CPU red light, we have created a diagnostic comparison table. This reference maps common symptoms to their corresponding solutions.
| Symptom | Likely Cause | Recommended Action |
|---|---|---|
| Solid Red LED, Fans Spin | CPU power cable loose or BIOS outdated | Reconnect EPS cable / Flash BIOS |
| Red LED Flashes, System Loops | RAM instability or CMOS corruption | Reset CMOS / Reseat RAM |
| Red LED on, GPU Fans at Max | PCIe slot issue or power delivery | Check GPU connection |
Furthermore, analyzing these symptoms helps narrow down whether the issue is electrical, physical, or firmware-related. For example, if your motherboard displays a white VGA light alongside the red light, the issue might involve the graphics card interface.
In addition, a combination of diagnostic lights can indicate a cascading failure where one component prevents another from initializing. Consequently, resolving the primary CPU light is always the first priority.
Therefore, use this table as a preliminary roadmap before diving into deeper physical interventions. By matching your specific symptoms, you can save valuable time and avoid unnecessary disassembly.
Step-by-Step MSI CPU Red Light Solutions
Let us begin the physical troubleshooting process to resolve the MSI CPU red light. Initially, you must completely power down your system and unplug it from the wall outlet.
Next, press and hold the power button for fifteen seconds to discharge any remaining electrical energy. This step ensures a safe working environment for handling sensitive electronic components.
Subsequently, open your computer case and locate the main EPS power connector at the top left of your motherboard. Unplug the 8-pin or 4+4 pin cable entirely, inspect the pins, and firmly plug it back in.
Furthermore, ensure that the cable is labeled “CPU” and not “PCIe,” as mixing these connectors can cause severe electrical damage. Consequently, verifying this connection is the most common fix for boot failures.
Inspecting and Reseating RAM Modules
If the power connection is secure, the next step involves inspecting the memory modules. Therefore, remove all RAM sticks and insert only a single stick into the primary slot (usually DIMMA2).
Sometimes, a faulty memory controller on the processor can trigger the diagnostic light. By testing each RAM stick individually, you can isolate whether a bad module or slot is causing the boot failure.
In addition, ensure that the RAM stick is fully seated until you hear a distinct click from the retention clips. Unseated memory is a notorious cause of false CPU error codes.
Finally, try booting the system with this single-channel configuration to see if the diagnostic light turns off. If it does, you can gradually reinstall the remaining memory modules.
Power Supply and Cable Verification
Power delivery issues are a primary reason why a system might fail to POST. Specifically, an unstable power supply unit (PSU) can trigger an MSI CPU red light by failing to deliver clean voltage.
Therefore, you should inspect all modular cable connections at the PSU end as well. If you are using custom cable extensions, remove them temporarily and connect the original manufacturer cables directly.
In addition, check for any physical damage to the motherboard itself. For example, a broken GPU PCIe latch or scratched PCB traces near the CPU socket can disrupt delicate electrical pathways.
Consequently, maintaining physical integrity across all expansion slots is vital for stable system operation. If you notice any physical damage, it may require professional repair or motherboard replacement.
Furthermore, ensure that your power supply has sufficient wattage to support your entire system configuration. An overloaded PSU will drop its voltage rails, causing the motherboard to trigger safety shutdowns.
Specifically, high-end graphics cards and processors can draw massive transient power spikes during boot. Therefore, using a high-quality, gold-rated power supply is always recommended for modern builds.
BIOS Flashback and CMOS Reset Procedures
Firmware conflicts are common when installing newer processors. Fortunately, performing a CMOS reset will often clear the MSI CPU red light by restoring default settings.
To reset the CMOS, locate the JBAT1 pins or remove the CR2032 battery for five minutes. This action clears volatile memory, forcing the system to re-detect hardware.
However, if you recently upgraded your processor, a BIOS update is mandatory. Most modern MSI motherboards feature a Flash BIOS button on the rear I/O panel.
Specifically, you can update the BIOS without a compatible processor. Download the latest firmware from the official MSI Support website, rename it to MSI.ROM, and save it to a FAT32 USB drive.
Next, insert the USB drive into the Flash BIOS port and press the button. The LED will flash for several minutes, indicating that the update is in progress.
In addition, do not interrupt this process or power off your system. Consequently, interrupting a firmware update can permanently damage your motherboard.
Once completed, the system will automatically reboot, and the diagnostic light should turn off. Therefore, this method is highly effective for resolving compatibility issues.
Advanced Diagnostics for MSI CPU Red Light
If basic troubleshooting fails, you must proceed to advanced diagnostics for troubleshooting the MSI CPU red light. This process involves inspecting the physical processor and its socket interface.
Initially, carefully remove your CPU cooler and lift the processor out of its socket. You must inspect the underside of the processor or the socket pins very closely using a magnifying glass.
For Intel motherboards (LGA) or AMD AM5 sockets, look for bent pins inside the socket. For older AMD AM4 processors, inspect the gold pins on the processor itself for any misalignment.
Consequently, even a single bent pin can prevent communication between the processor and the motherboard. If you find a bent pin, you can attempt to realign it very gently with a mechanical pencil.
Checking for Bent Pins and Thermal Paste Overflow
Furthermore, check for thermal paste overflow that may have seeped into the socket. Non-conductive thermal paste can act as an insulator, blocking critical electrical contacts and causing boot failures.
Finally, if you have access to a secondary compatible system, test your processor there. This cross-testing will definitively confirm whether the processor itself has suffered a permanent hardware failure.
In addition, inspect the motherboard’s VRM heatsinks for excessive heat or physical damage. Blown capacitors or burnt phases can prevent the CPU from receiving the required operating voltage.
Therefore, if the processor works in another system, the motherboard’s power delivery system is likely defective. In this scenario, submitting an RMA request is the best course of action.
Preventative Best Practices for PC Builders
Preventing hardware errors during assembly is much easier than troubleshooting them later. Therefore, adopting clean building habits is essential to avoid a future MSI CPU red light.
Specifically, always install your processor into the motherboard socket before mounting the motherboard inside the PC case. This approach gives you maximum visibility and reduces the risk of bending pins.
In addition, avoid over-tightening your CPU cooler mounting screws. Excessive mounting pressure can warp the motherboard PCB, leading to poor contact between the processor and the socket pins.
Furthermore, ensure your system is plugged into a high-quality surge protector or uninterruptible power supply (UPS). Power surges can corrupt BIOS firmware or damage sensitive voltage regulator modules (VRMs).
Finally, keep your system clean and free of dust buildup. Regularly check that your cooling solutions are functioning properly, preventing issues like a gpu fan spinning fast due to thermal stress.
Consequently, routine maintenance and careful assembly will extend the lifespan of your high-end gaming components. By following these simple guidelines, you can ensure a stable and reliable computing experience.
📺 Video Guide: MSI EZ Debug CPU LED FIXED! (2022)
Video walkthrough courtesy of GothikaGeist on YouTube. Follow along with the visual steps above.
Frequently Asked Questions
Q: Can a loose CPU cooler cause the red light?
Yes, if the cooler is too loose, the processor may overheat instantly upon boot and trigger a safety shutdown, resulting in a red debug light.
Q: Will resetting CMOS delete my files?
No, resetting the CMOS only resets your BIOS settings to factory defaults. It does not affect any data stored on your SSDs or hard drives.
Q: What should I do if the red light switches to DRAM?
If the light changes to DRAM, it means the CPU has initialized successfully, and the motherboard is now troubleshooting your RAM configuration.