

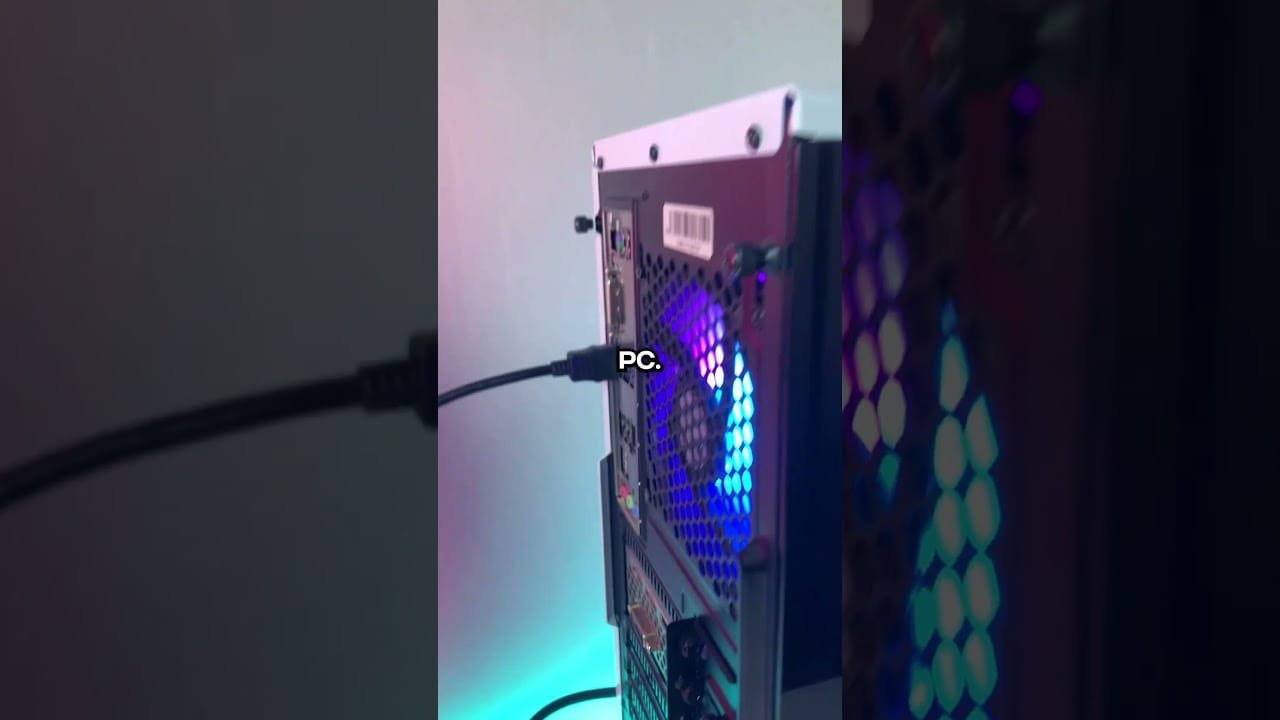
A Monitor no signal is a common issue that can disrupt your device performance. If you are experiencing a Monitor no signal, this 2026 step-by-step diagnostic guide will help you troubleshoot and resolve the problem quickly.
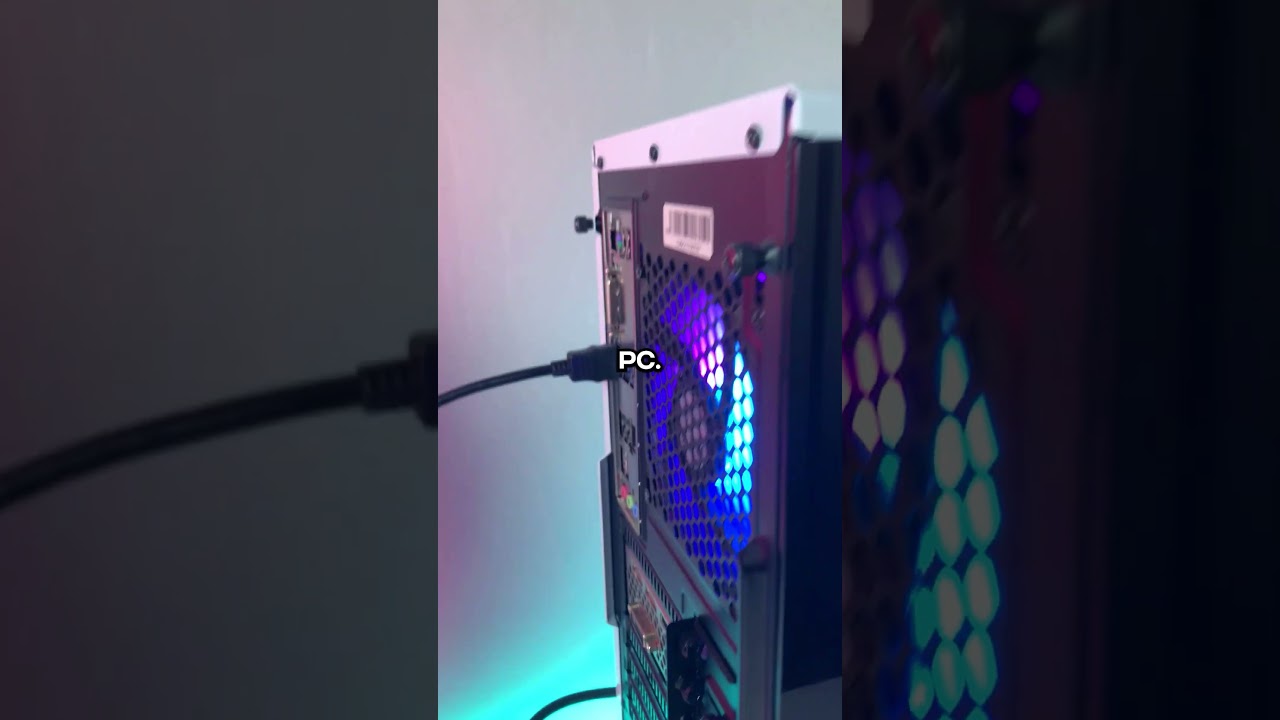
Consequently, users often feel frustrated when their screens suddenly go dark. Fortunately, this guide offers comprehensive, tested methods to restore your display functionality immediately.
Initially, we must identify whether the root cause lies within the hardware or the software. Therefore, let us systematically analyze the potential triggers before applying specific fixes.
In addition, we will look at how power delivery issues can impact display performance. Specifically, understanding these elements will help you avoid unnecessary hardware replacement costs.
Table of Contents
- Understanding the Root Causes
- Interactive Troubleshooting Guide
- Step-by-Step Solutions
- Checking Hardware Connections
- Testing Alternative Display Sources
- Diagnostic Comparison Table
- Resolving Software Issues
- Updating Graphics Drivers
- Adjusting Display Resolution
- Advanced Hardware Fixes
- Reseating the RAM Modules
- Reseating the Graphics Card
- Preventative Best Practices
- How to Avoid Recurrence
- Frequently Asked Questions
Understanding the Hardware System Cause
To begin with, a blank screen usually indicates that the display unit is powered on but receives no data from the computer. Specifically, this communication breakdown can happen due to damaged cables, incorrect input source selection, or outdated graphics drivers.
In addition, system power failures can abruptly cut off the video feed. For example, experiencing a sudden shutdown related to a Kernel Power 41 Error can cause your display to lose connection instantly.
Furthermore, hardware degradation in the graphics card or the motherboard can trigger this issue. Consequently, understanding these underlying factors is essential for choosing the correct troubleshooting path.
Finally, external factors like power surges or static buildup can temporarily disable display ports. Therefore, a systematic diagnostic approach is required to pinpoint the exact failure point.
Interactive Troubleshooting Guide
Initially, you should perform a quick power cycle of all connected devices. Turn off your computer, unplug the display, and wait for approximately sixty seconds before restarting.
Next, verify that the display is set to the correct input channel. For instance, if you are using an HDMI cable, ensure the display menu is set to HDMI rather than DisplayPort.
However, if these basic steps do not resolve the issue, you must proceed to more detailed physical checks. Let us explore the step-by-step physical diagnostics below.
In addition, try disconnecting all other USB peripherals except your keyboard and mouse. Sometimes, conflicting USB devices can interfere with the system boot process and display output.
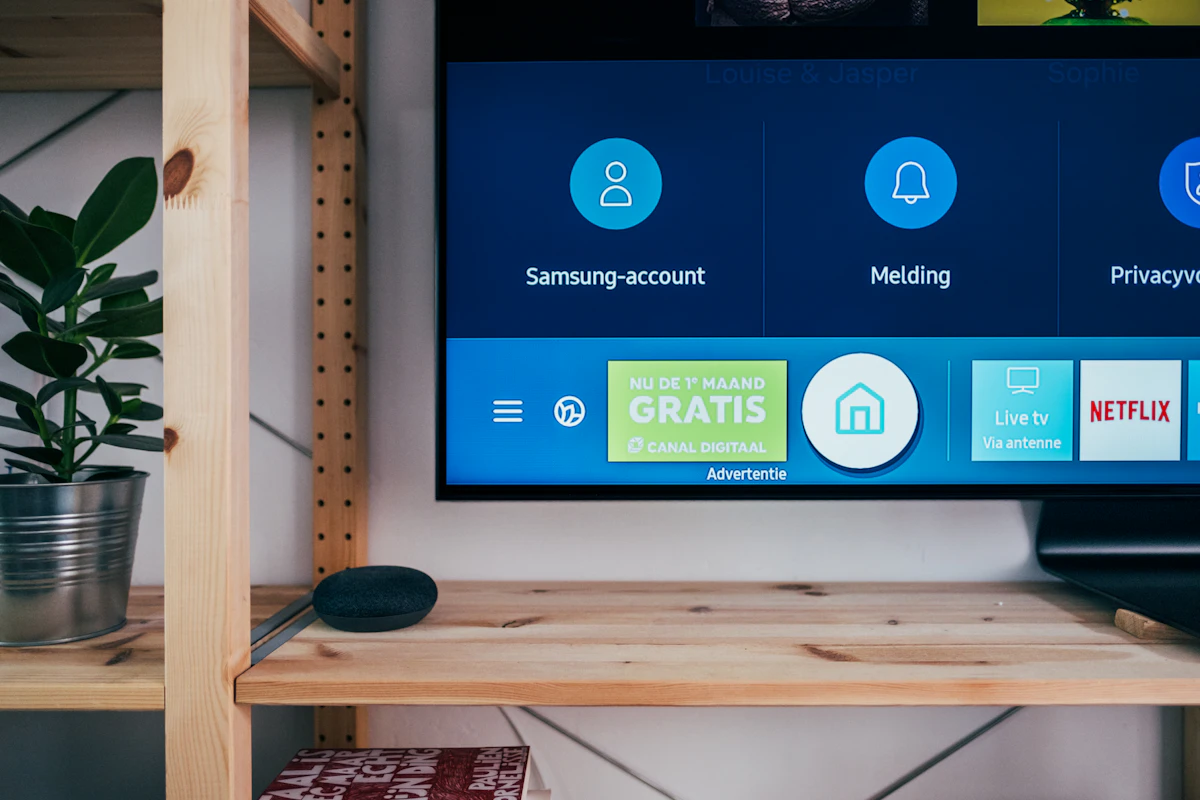
Step-by-Step Hardware System Solutions
When dealing with persistent display issues, a systematic approach is highly recommended. Specifically, we will start with the easiest physical checks and gradually move to advanced configurations.
Consequently, this structured methodology ensures you do not waste time on complex software fixes when a simple loose cable is the actual culprit.
Furthermore, please ensure you document each step you take. This will help you explain the situation to a professional technician if the issue persists after troubleshooting.
Initially, you should also disconnect any secondary displays if you are running a multi-monitor setup. This simplifies the diagnostic process and helps isolate the primary display device.
Next, verify that the power LED on your display is actually illuminated. If there is no light at all, the issue is likely power-related rather than a signal problem.
Checking Hardware Connections
First, inspect the physical cables connecting your computer to the display. Unplug the HDMI or DisplayPort cable completely, check for bent pins, and plug it back in firmly.
In addition, try using a different cable to rule out internal wire damage. For example, high-quality cables certified by VESA ensure optimal signal transmission and prevent sudden dropouts.
Furthermore, if you are using a dedicated graphics card, ensure the cable is plugged directly into the GPU ports, not the motherboard ports. This common mistake often leads to display detection failures.
Finally, check if the cable is too long. Specifically, passive cables longer than fifteen feet can experience signal degradation, leading to intermittent blackouts or complete connection loss.
Testing Alternative Display Sources
To isolate the problem, connect your computer to an alternative display, such as a television. If the television displays the desktop successfully, your original display unit might be faulty.
Conversely, you can connect a different device, like a gaming console, to your display. For instance, testing with a console can help you determine if the display ports are functioning correctly.
If you encounter console-specific display issues, you might need to troubleshoot console errors. Specifically, resolving a PS5 Error CE-108255-1 can sometimes fix output signal mismatches.
In addition, try using different input ports on the same display. If HDMI 1 fails, switching to HDMI 2 or DisplayPort might bypass a damaged port successfully.
Diagnostic Comparison Table
To help you quickly identify the most likely cause of your display issues, we have compiled a diagnostic comparison table. Use this resource to match your symptoms with the correct solution.
Specifically, analyzing these symptoms systematically will save you significant troubleshooting time when diagnosing a Monitor no signal issue.
Furthermore, keep in mind that multiple factors can contribute to a single symptom. Therefore, always verify each potential cause before proceeding to more complex hardware modifications.
| Symptom | Likely Cause | Recommended Action |
|---|---|---|
| Power light is amber/orange | No video signal from PC | Check cable connection and wake PC |
| Power light is completely off | No power to monitor | Check power cable and wall outlet |
| “Input Not Supported” message | Incorrect resolution/refresh rate | Boot in Safe Mode and adjust settings |
| Flickering before signal loss | Damaged cable or failing GPU | Replace cable or update drivers |
Resolving Hardware System Software Issues
Sometimes, the hardware is perfectly fine, but the operating system fails to send the correct display data. Consequently, software conflicts or corrupted drivers can prevent successful communication.
Therefore, we must examine the software configurations to ensure your operating system detects the display properly. Let us look at driver updates first.
In addition, background applications or third-party screen-sharing software can interfere with your display output. Disabling these programs during startup can resolve persistent conflicts.
Furthermore, certain Windows updates can occasionally corrupt display configurations. If the issue started immediately after an update, rolling back the update might resolve the problem.
Consequently, keeping a system restore point handy is always a wise precaution. This allows you to revert your system to a working state without losing personal files.
Updating Graphics Drivers
Outdated or corrupted graphics drivers are a primary cause of display communication failures. To resolve this, boot your computer into Safe Mode to bypass the blank screen.
Once in Safe Mode, open the Device Manager, expand the display adapters section, and right-click your graphics card. Next, select the option to update the driver automatically.
Alternatively, you can download the latest driver directly from the manufacturer’s website. Installing clean drivers often resolves deep-seated display communication errors immediately.
Furthermore, consider using a tool like Display Driver Uninstaller (DDU) for a completely clean installation. This ensures that no leftover driver remnants cause future conflicts.
Adjusting Display Resolution
If your computer is configured to an unsupported resolution or refresh rate, the display will fail to render the image. Consequently, you will see a blank screen.
To fix this, boot into Safe Mode and navigate to your display settings. Specifically, lower the resolution to a standard setting, such as 1920×1080, and set the refresh rate to 60Hz.
Furthermore, if you are using an external television as a display, ensure the settings match the TV’s capabilities. For example, resolving an LG TV Error 137 can prevent resolution mismatches.
In addition, check if your operating system is set to duplicate or extend the desktop. Incorrect multi-monitor configurations can sometimes leave one screen completely blank.
Advanced Monitor no signal Hardware Fixes
If basic troubleshooting fails, you may need to perform advanced hardware diagnostics inside your computer chassis. Initially, ensure the computer is completely powered off and unplugged.
Furthermore, wear an anti-static wrist strap or touch a grounded metal object before touching any internal components. This prevents static electricity from damaging sensitive circuitry.
In addition, prepare a clean, well-lit workspace with the necessary tools, such as a Phillips screwdriver. Let us look at the specific internal components to check.
Reseating the RAM Modules
To begin, loose or dusty RAM modules can prevent your computer from completing its Power-On Self-Test (POST). Consequently, this failure results in a blank display.
Next, open the computer case and locate the RAM slots. Carefully press the clips on either side of the module to release it from the slot.
Furthermore, clean the gold contacts on the RAM stick using a soft, lint-free cloth or a clean pencil eraser. This removes any oxidation or dust buildup.
Finally, reinsert the RAM module firmly into the slot until you hear a distinct click. Ensure the side clips snap back into place automatically.
Reseating the Graphics Card
In addition to RAM, a poorly seated graphics card can cause display failures. Specifically, heavy GPUs can sag over time, losing contact with the PCIe slot.
To resolve this, unscrew the graphics card from the rear expansion bracket. Next, press the release latch on the PCIe slot and gently pull the card out.
Furthermore, inspect the PCIe slot for dust or debris. Blow it out with compressed air before reinserting the graphics card firmly until the latch clicks.
Finally, reconnect the PCIe power cables from your power supply. Ensure these cables are plugged in completely, as loose power connections will prevent the card from functioning.
Preventative Best Practices
To prevent future Monitor no signal occurrences, you should establish a routine maintenance schedule for your computer hardware and software systems.
First, keep your graphics drivers updated to the latest stable versions. Furthermore, avoid using cheap, uncertified video cables that degrade quickly over time.
Second, ensure your computer chassis is free of dust, which can cause components to overheat and fail. Regularly cleaning the internal fans will maintain optimal operating temperatures.
Finally, use a high-quality surge protector to safeguard your display and computer from sudden electrical spikes. These simple steps will ensure long-term display reliability.
How to Avoid Monitor no signal Recurrence
In addition to physical maintenance, configuring your operating system’s power settings can prevent display detection issues. Specifically, disable deep sleep modes for your PCI Express link state.
Furthermore, ensure your monitor’s auto-sleep function is configured correctly. Sometimes, the display enters a deep sleep state and fails to wake up when the computer sends a signal.
Consequently, adjusting these settings in the Windows Control Panel under Power Options will ensure a more reliable connection between your PC and display.
Finally, avoid hot-plugging display cables frequently. Repeatedly plugging and unplugging HDMI or DisplayPort cables can wear out the physical ports, leading to loose connections.
📺 Video Guide: How to Fix Black Screen or No Signal On Gaming PC🔧
Video walkthrough courtesy of RBN Hardware on YouTube. Follow along with the visual steps above.
Frequently Asked Questions
In this section, we address some of the most common questions regarding display connectivity issues. These quick answers will help you resolve specific scenarios rapidly.
Furthermore, if you encounter other hardware-related errors, feel free to explore our extensive diagnostic library for step-by-step troubleshooting guides.
For instance, if your system experiences sudden power cuts, checking for a Kernel Power 41 Error is highly recommended. This ensures your power supply is stable.
In addition, if you are using a gaming console, make sure to check for specific console errors. Resolving these errors will restore normal video output to your display.




[…] drives directly impact system stability. If you also experience display issues, check our guide on Monitor no signal […]