
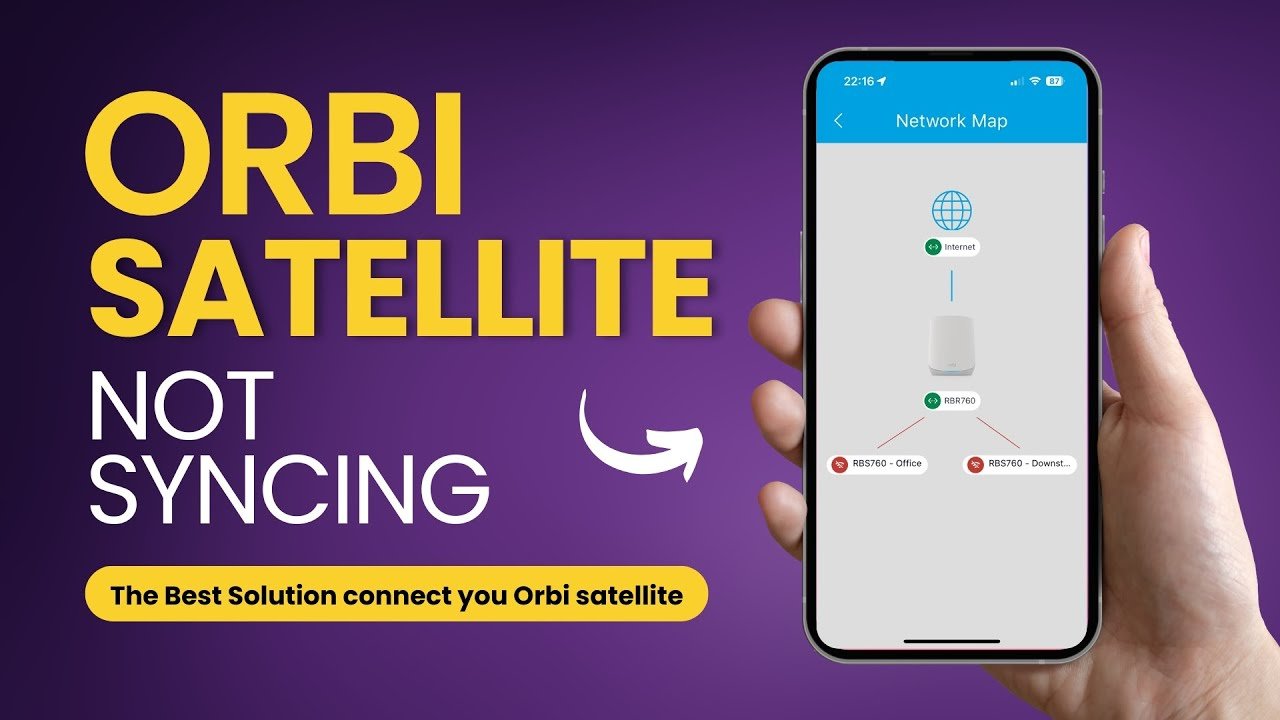
An Orbi Blinking Red light indicator is a common issue that can disrupt your entire home wireless network. If you are currently experiencing an Orbi Blinking Red error signal on your satellite node, this 2026 step-by-step diagnostic guide will help you troubleshoot and resolve the connection fault effectively.
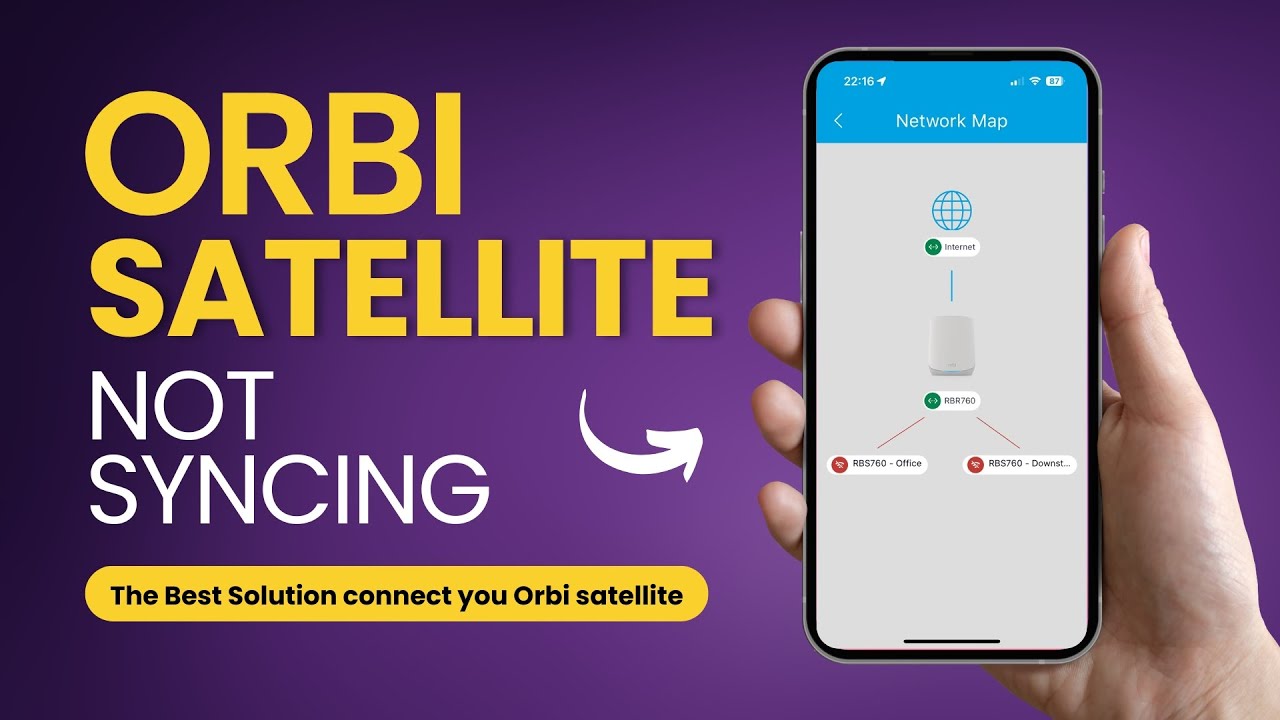
Mesh Wi-Fi systems rely on seamless communication between the central router and remote nodes. Consequently, when the backhaul connection breaks down, your devices lose internet access. Furthermore, hardware glitches can trigger persistent warning signals across your network environment.
Fortunately, most satellite errors can be resolved without replacing hardware. In this guide, we explore proven methods to re-establish stable mesh connectivity across your residence.
Table of Contents
Understanding Mesh Network Status Lights
Netgear Orbi systems utilize LED ring indicators to communicate hardware status to users. Specifically, solid blue indicates a strong backhaul connection, while solid amber signifies fair connectivity. However, pulsed red or magenta signals demonstrate complete sync failure.
Therefore, distinguishing between solid and flashing LED patterns helps narrow down the underlying cause. While solid lights reflect signal strength variations, blinking lights highlight active transmission faults. Similar diagnostic steps apply to other systems, as seen in our guide on Linksys Velop red light troubleshooting.
In addition, power LED behavior on the rear panel provides crucial power delivery context. If the power LED flashes amber continuously, the satellite is undergoing reboot sequence or recovering corrupt system software.
Root Causes Behind an Orbi Blinking Red Error
Understanding the primary triggers behind an Orbi Blinking Red fault speeds up recovery. Physical distance remains the most frequent factor causing signal degradation between nodes. Consequently, satellite placement requires careful consideration during initial setup.
Additionally, physical obstructions like thick concrete walls or metal ductwork hamper 5GHz wireless backhaul performance. Furthermore, dense wireless environment congestion can interrupt synchronization packets between hardware nodes.
Another major factor involves corrupted firmware files following interrupted automatic updates. When internal configurations mismatch, nodes reject authentication tokens. For instance, similar protocol handshaking failures occur in media devices, such as the streaming stick error code 403 issue.
Finally, power surge damage or failing power adapters can deliver unstable voltages to your satellite. As a result, internal transmitters fail to maintain stable radio links with the main base station.

Diagnostic Comparison Table
To assist in quick identification, use the comparison matrix below to isolate specific satellite error symptoms and recommended actions.
| LED Status | Indicated Issue | Severity | Primary Solution |
|---|---|---|---|
| Blinking Red / Magenta | Lost Mesh Connection | High | Re-sync & Relocate Satellite |
| Solid Amber | Weak Signal Distance | Medium | Move Satellite Closer |
| Blinking Amber (Power) | Firmware Corruption | Critical | TFTP / Hard Factory Reset |
| Solid Blue | Optimal Sync Connected | None | No Action Needed |
Step-by-Step Orbi Blinking Red Solutions
Follow these sequential troubleshooting steps to eliminate connectivity errors and restore normal wireless distribution throughout your premises.
1. Perform a Proximity Re-Sync
Initially, unplug the satellite node and move it into the same room as your main router. Plug the power cable into a direct wall outlet rather than a surge protector. Therefore, you eliminate potential power line variance during setup.
Next, wait for the power LED to turn solid green or white. Press the Sync button on the main router, and within two minutes, press the Sync button on the satellite. Consequently, addressing your Orbi Blinking Red state becomes easier when hardware operates within close proximity.
2. Execute a Soft Power Cycle
If physical re-syncing fails, perform a controlled restart of the entire network architecture. Unplug both the modem and primary Orbi router from electrical outlets. Furthermore, disconnect all power sources connected to remote satellite units.
Wait approximately two minutes to discharge internal hardware capacitors completely. Afterwards, reconnect the modem first, followed by the primary router. Once the base unit initializes fully, power on the satellite. If the Orbi Blinking Red sequence continues, proceed to hardware resets.
3. Hard Factory Reset Procedure
When firmware settings become corrupt, manual hardware resets restore original factory defaults. Locate the small reset pinhole near the Ethernet ports on the back panel. Insert a paperclip and press firmly for 15 seconds.
Release the button when the power LED flashes amber. Allow five minutes for the satellite memory to purge completely. Finally, re-add the node using the official application interface or web portal. For additional official hardware specifications, review Netgear Support Documentation.
4. Manual Firmware Reflash via Web GUI
Occasionally, wireless updates install incompletely across secondary nodes. Consequently, download the latest firmware image directly from the manufacturer portal onto a local computer. Connect your computer to the satellite directly using an Ethernet cable.
Navigate to the satellite IP address within your web browser. Access the firmware update tab and manually upload the extracted image file. In addition, ensure power remains connected throughout this process to prevent permanent boot errors.
Preventative Best Practices for Mesh Routers
Implementing proper maintenance strategies reduces network downtime significantly over time. Specifically, place satellites in elevated, open locations away from large metallic structures. Furthermore, avoid positioning nodes near microwave ovens, cordless phones, or bluetooth hubs.
Additionally, configure automatic firmware updates during low usage hours like early morning. Maintaining synchronized software versions across all hardware nodes prevents protocol conflicts. Therefore, taking proactive measures helps prevent an Orbi Blinking Red scenario from disrupting your remote work or entertainment streams.
Finally, consider using wired Ethernet backhaul connections between nodes if your home features existing network wiring. Wired backhaul bypasses wireless interference entirely, providing unmatched stability and maximum throughput performance.
Frequently Asked Questions
What does a blinking red light mean on an Orbi satellite?
A blinking red or magenta light indicates that the satellite cannot establish or maintain a connection with the primary Orbi router due to distance, interference, or corrupted firmware.
How do I hard reset my Netgear Orbi satellite?
Locate the small reset pinhole on the back of the satellite. Insert a paperclip for 10 to 15 seconds until the power LED flashes amber, then release to restore factory default settings.
Should I reset the main router if only the satellite is blinking red?
Initially, power cycle only the satellite. However, if re-syncing fails, rebooting the primary router or re-pairing through the Orbi application is recommended.
📺 Video Guide: Orbi SATELLITE Not Syncing Properly?
Video walkthrough courtesy of Ways to Connect on YouTube. Follow along with the visual steps above.



[…] In addition to software configurations, hardware issues like routing problems can mimic security faults. For more insights on fixing hardware disruptions, check our Orbi Blinking Red diagnostic guide. […]
[…] Furthermore, check for IP address conflicts within your network settings. Sometimes, a static IP assignment can prevent a Relay Switch Error from recurring. You can find more details on network stability in our Orbi Blinking Red guide. […]