
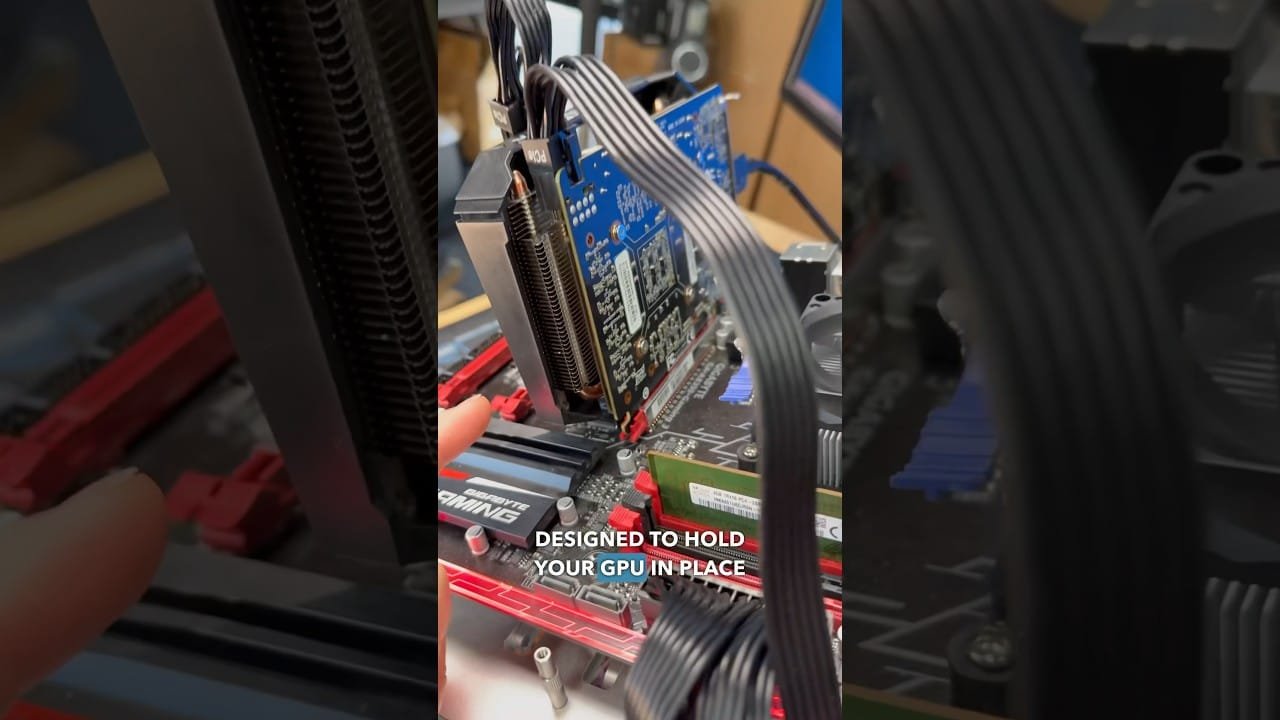
A broken GPU PCIe latch is a common issue that can disrupt your device performance. If you are experiencing a broken GPU PCIe latch, this 2026 step-by-step diagnostic guide will help you troubleshoot and resolve the problem quickly.
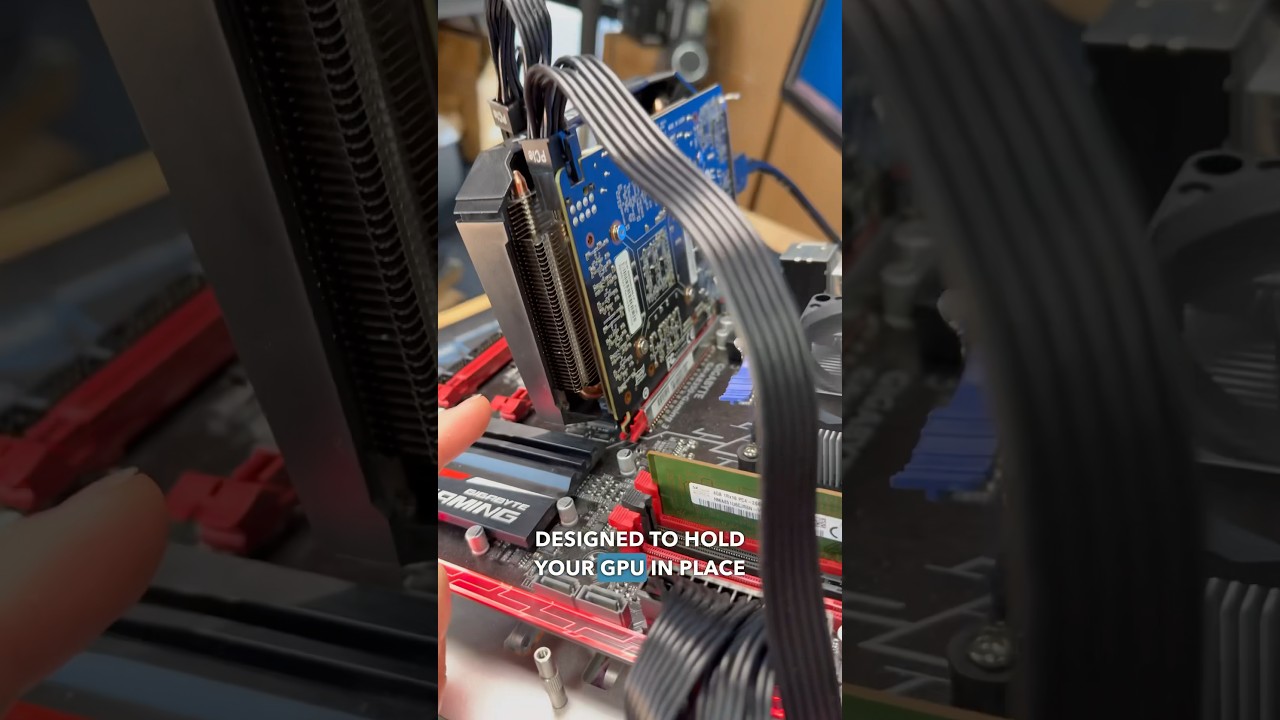
Modern graphics cards have grown significantly heavier over recent hardware generations. Consequently, the mechanical strain placed on motherboard retention clips has increased exponentially. When removing a bulky GPU from a cramped case, builders frequently apply uneven pressure, leading to damaged retention clips.
Table of Contents
- Quick Fix Overview for a Broken GPU PCIe Latch
- What Causes a Broken GPU PCIe Latch?
- Step-by-Step Broken GPU PCIe Latch Solutions
- Alternative Methods to Secure a Heavy Graphics Card
- Motherboard Repair vs. Replacement Analysis
- PCIe Slot Repair Comparison Table
- Preventative Maintenance and Safety Tips
- Frequently Asked Questions
Quick Fix Overview for a Broken GPU PCIe Latch
When dealing with a broken GPU PCIe latch, you should first check whether the plastic component is snapped completely or simply popped out of its retention groove. Modern slot latches often use a press-fit hinge system that can unclip under extreme stress without snapping the plastic pins.
If the plastic clip has popped out, you can often reinstall it using a pair of non-conductive plastic tweezers. However, if the latch has snapped completely off, do not panic. The physical latch is purely mechanical and does not transfer power or data data signals to your graphics processor.
For example, if your card is experiencing stability issues, the cause might be electrical rather than mechanical. You can read our Nvidia Error Code 43 diagnostic guide to verify if device driver issues are contributing to display failures.
What Causes a Broken GPU PCIe Latch?
Understanding what causes a broken GPU PCIe latch is crucial for avoiding future damage to your system motherboard. The primary culprit is attempting to pull the GPU out of the motherboard without completely dislodging the locking tab first.
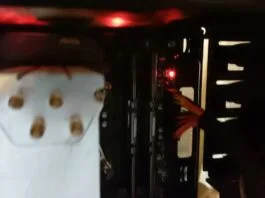
Furthermore, large CPU air coolers often overhang the primary x16 slot, obscuring the release tab completely. When builders use long screwdrivers to push down on the hidden latch, slips frequently happen. Consequently, the thin plastic mechanism shatters under the sharp steel tip.
Another common factor involves heavy GPU sag over extended usage periods. High-end cards exert continuous downward torque on the slot, causing brittle plastic latches to crack over time. If you are shopping for a new card, check our guide on the Best Budget 1440p GPU to find lighter, highly efficient options.
Step-by-Step Broken GPU PCIe Latch Solutions
Addressing a broken GPU PCIe latch requires patience and careful hands. Before starting any repair procedure, ensure your computer is entirely powered down and disconnected from the wall outlet. Next, press the power button several times to clear residual power from the motherboard capacitors.
Initially, remove the graphics card carefully by lifting straight upward perpendicular to the motherboard PCB. Ensure both chassis bracket screws are completely removed first so you do not bend the metal expansion bracket.
Next, carefully inspect the slot area with a bright flashlight. If small plastic fragments are lodged inside the slot pins, carefully clear them using compressed air. Never use metal picks inside the electrical slot contacts.
If the latch merely unclipped from its base, align the small pivot pegs with the mounting holes on the PCIe slot wall. Gently press down on both sides until you feel the latch snap back into place. However, if the plastic hinge arms are broken, reattaching the latch is impossible, and you must move to alternative securing methods.
Alternative Methods to Secure a Heavy Graphics Card
If your broken GPU PCIe latch cannot be replaced, your main goal is holding the graphics card level without relying on the motherboard latch. Fortunately, expansion slot screws provide significant structural support when installed tightly against the PC chassis.
Additionally, installing an adjustable GPU support bracket or anti-sag pillar offers vital mechanical reinforcement. These support columns rest on the bottom of your case or power supply shroud, lifting the heavy corner of the graphics card so it remains flat inside the connector slot.
Furthermore, if thermal issues arise due to uneven mounting, monitor your cooling performance closely. For instance, if fan speeds surge after re-seating your card, consult our GPU Fan Spinning Fast diagnostic guide for quick troubleshooting steps.
Motherboard Repair vs. Replacement Analysis
Deciding whether to repair a broken slot latch or replace your motherboard depends heavily on your hardware warranty and technical comfort level. Replacing a motherboard requires completely stripping down your PC build, which can take several hours.
Conversely, using secondary slots is a practical alternative. Most modern ATX motherboards feature multiple physical x16 expansion slots. However, check your motherboard manual to ensure the secondary slot offers full PCIe bandwidth rather than reduced x4 speeds.
According to official hardware standards from PCI-SIG, physical interface slots must maintain mechanical alignment to prevent signal degradation across high-speed Gen 4 and Gen 5 lanes. Therefore, ensuring your card remains level is essential for stable data transfers.
PCIe Slot Repair Comparison Table
The following table outlines common PCIe latch failure scenarios, recommended solutions, and estimated repair difficulty ratings for DIY builders.
| Damage Type | Primary Symptoms | Recommended Fix | Difficulty |
|---|---|---|---|
| Unclipped Hinge | Latch loose in case, intact plastic pins | Snap latch back onto slot housing | Easy |
| Shattered Latch Pin | Broken plastic pieces, missing retention mechanism | Use GPU support bracket and chassis screws | Moderate |
| Damaged Electrical Slot | Bent gold pins inside slot, system no-post | Move card to secondary slot or replace board | Hard |
Preventative Maintenance and Safety Tips
To avoid damaging your motherboard in the future, always use proper technique when removing high-performance graphics cards. Specifically, avoid using hard metal screwdrivers to depress tight plastic latches in compact PC cases.
Instead, use the eraser end of a standard wooden pencil or a plastic spudger tool. These softer materials absorb excess pressure without snapping delicate plastic hinge tabs or scratching motherboard traces if your hand slips.
In addition, always remove GPU support pillars before attempting to press the release latch. Taking weight off the card prevents binding against the retention hook, making the clip open smoothly with minimal pressure.
Frequently Asked Questions
Here are answers to common questions regarding GPU retention latches and motherboard safety.
Is it safe to run a graphics card with a broken PCIe latch?
Yes, it is generally safe to run a graphics card without a functional retention latch, provided the card is securely screwed into the expansion slot of your PC chassis. In addition, using a GPU support bracket will prevent heavy cards from sagging or slipping out of the PCIe slot.
Can you replace just the plastic latch on a PCIe slot?
Yes, on many modern motherboards, the plastic release clip can be snapped back onto its tiny hinge pins if it was merely dislodged rather than shattered. However, if the molded plastic mounting tabs are snapped off completely, replacing just the latch requires donor parts and delicate handling.
Will a broken PCIe latch affect graphics card performance?
No, the plastic latch is purely a mechanical physical lock. Consequently, it carries no electrical signals. As long as the GPU remains fully seated in the gold contact pins of the slot, performance will not suffer.
📺 Video Guide: Broken PCIe Lock Repair! #gamingcomputer #tech #gamingpc #pcbuild #pcrepair #repair #computerrepair
Video walkthrough courtesy of Matt’s Computer Services on YouTube. Follow along with the visual steps above.

[…] A broken GPU PCIe latch can sometimes be a symptom of broader PCIe issues, though not directly related to NVMe speed. However, ensuring all PCIe connections are secure is good practice. For more on this, see our guide on Fix Broken GPU PCIe Latch. […]